- Published on
- Updated on
Guide on how to recover files on an external SD card via Disk Drill
- Authors
In this guide, I'll walk you through the process of using Disk Drill PRO to recover files from external storage devices like SD cards, USB flash drives, or external SSDs. We’ll explore the program's key features related to scanning and recovering deleted data from external sources, and we'll demonstrate the effectiveness of the paid version. Finally, we'll assess whether the paid version of Disk Drill PRO is worth it and provide recommendations.
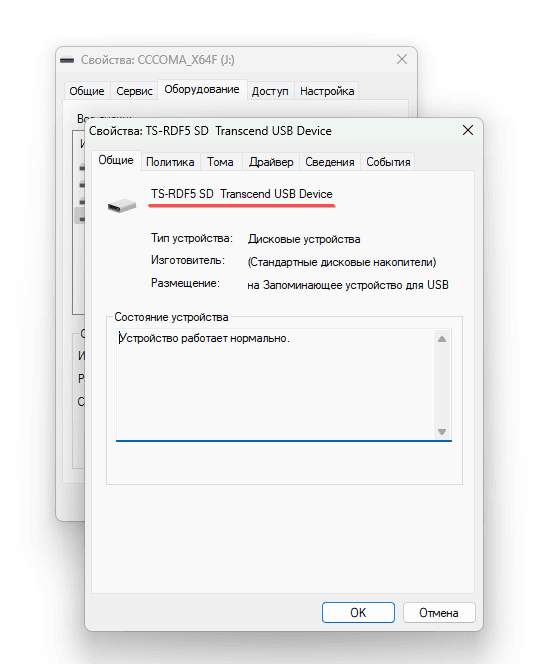
I personally tested Disk Drill PRO for a week. I deleted data from a TS-RDF5 SD card, formatted it multiple times, and even deleted a partition. Most of the data consisted of images taken with a digital camera.
I hope my experience proves helpful to you.
Disk Drill: Free Version vs. Pro
Overview of Disk Drill Versions
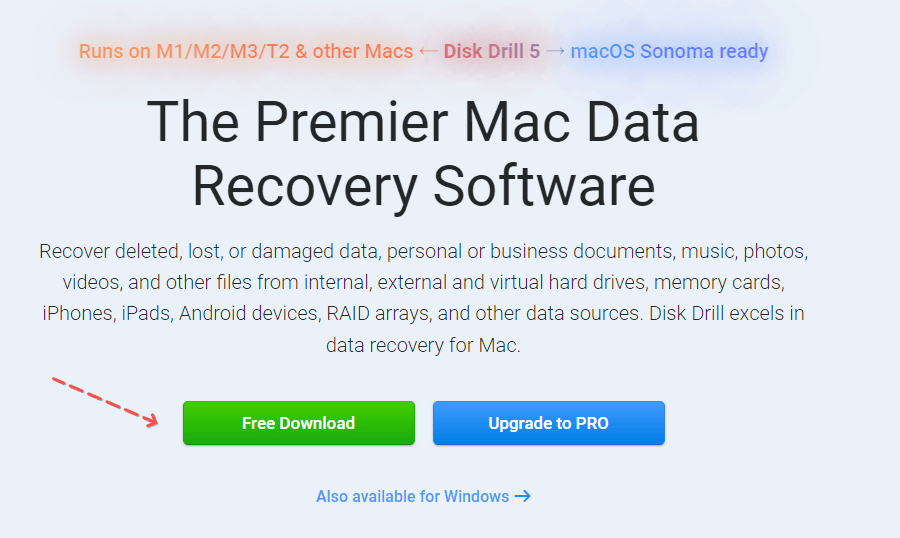
Let's start by getting to know the program. I downloaded it from the official website, and at the time of writing, the version was 5.3.826. You can try out the demo version, which has some limitations. The most notable one is that you can only recover up to 500 MB of data. To lift this limitation, you'll need to purchase a license for $89.00 (as of August 2024).
Features in the Free Version
You can compare the Basic, Pro, and Enterprise versions of the program on the official comparison page.
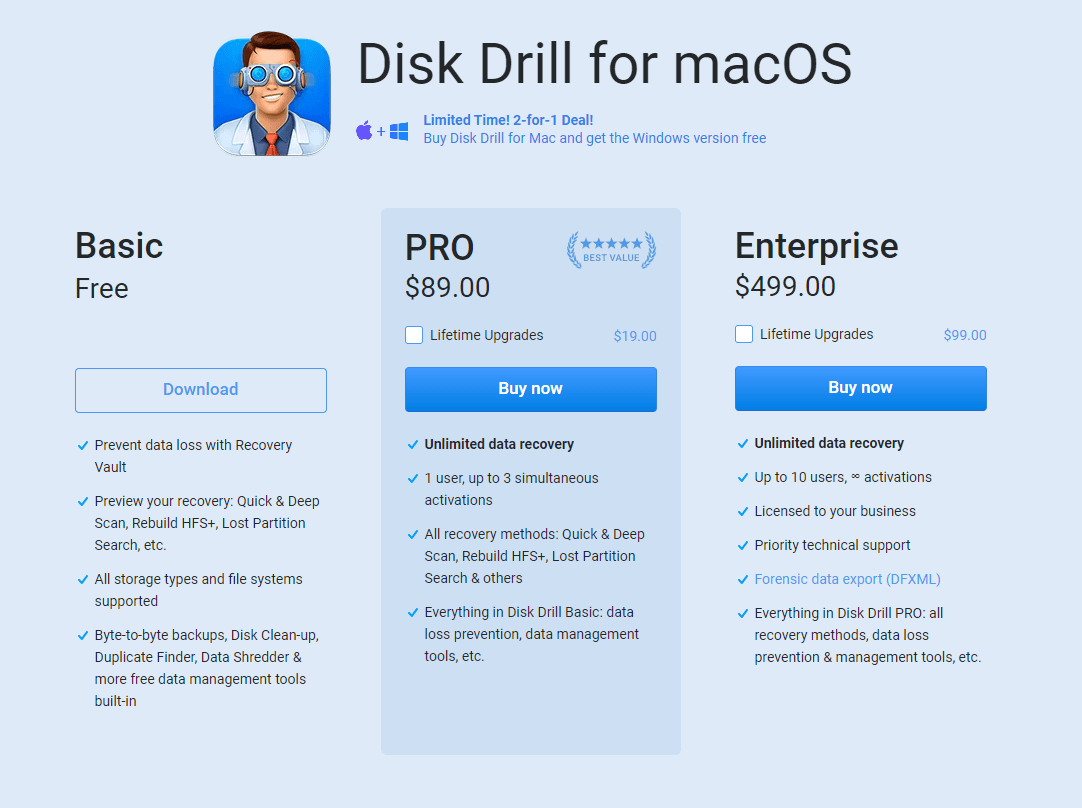
The free version of Disk Drill includes the Recovery Vault feature, which allows you to quickly recover files in case of accidental deletion by installing Recovery Vault on your PC.
Installing Disk Drill
Loading...
Installation Process
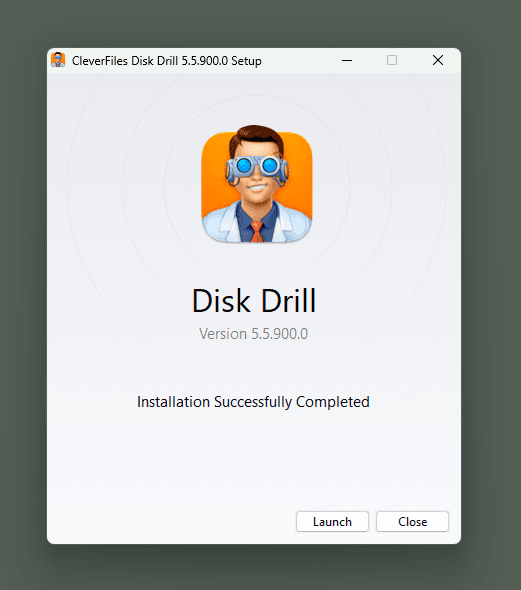
Installing Disk Drill took me less than two minutes.
You can run the installer with administrative rights, allowing you to choose any disk partition for installation.
If you install the program as a regular user with limited rights, you might find that installation is only possible on the disk where data was deleted. Be cautious not to install the program on an external hard drive or SD card, as this could risk overwriting files that you may later want to recover.
Post-Installation Notes
If you’ve installed Disk Drill on Windows 10 or Windows 11, you might see a User Account Control window pop up at startup, prompting you to agree to make changes to the system.
With the installation complete, let's dive into the program.
User Interface
Exploring the Interface
Disk Drill 5 users have praised its intuitive user interface. The program is well-suited for desktop use and looks equally polished in both macOS and Windows versions.
Navigating the Program
On the left pane, you'll see a list of disks available for recovery. Clicking the arrow in the left sidebar expands the disk menu, allowing you to select one of the disks. You can also access additional tools from the left panel, such as Smart Monitoring, Data Protection, and Drive Backup.
Disk Information
The main area of the program displays a list of logical disks and partitions, along with the file system type.
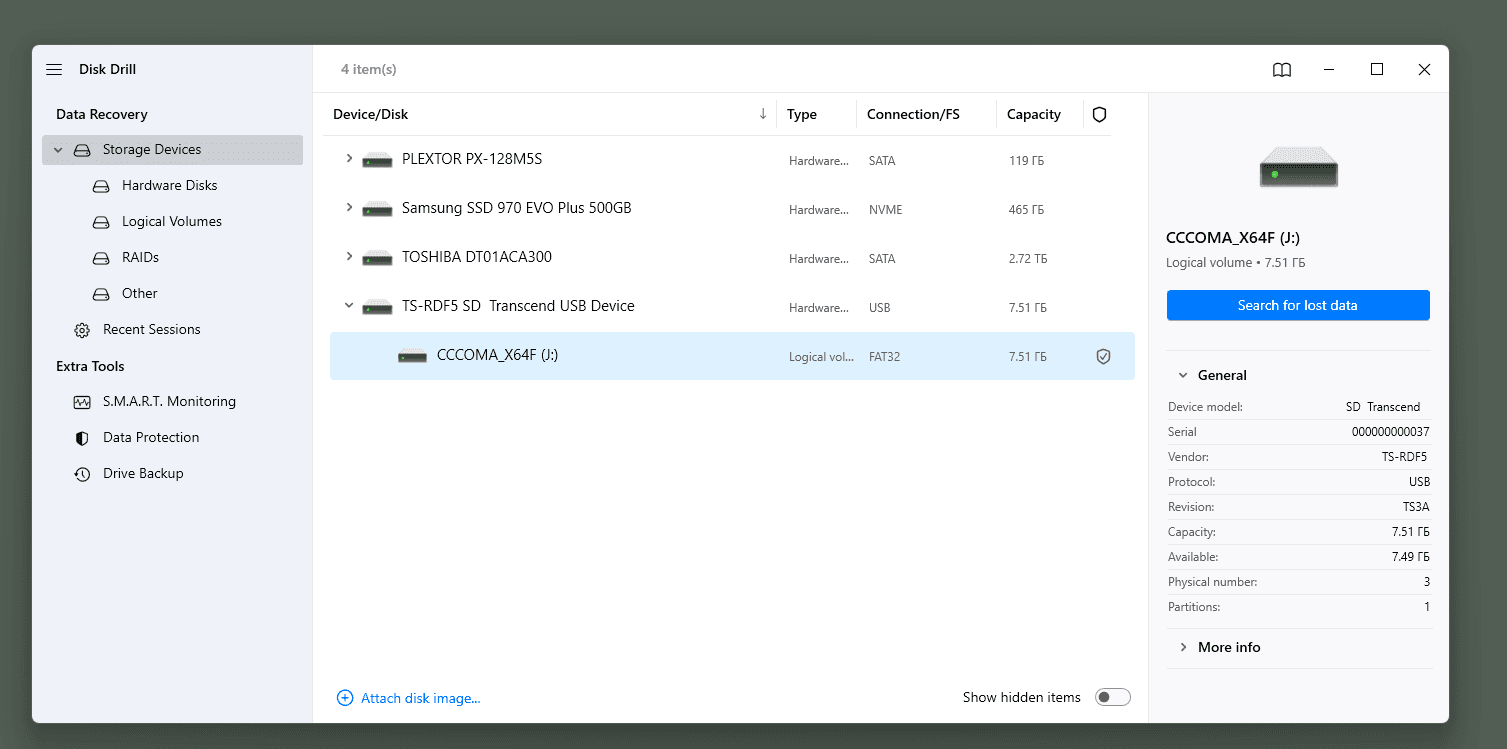
The right column shows the size of the hard disk or partition, which helps you identify the disk you need to recover. If you select a logical disk or partition from the list, the right window will display detailed information about the selected disk, including the type of hard disk or SSD, its serial number, and the technology used.
Disk Drill Settings
Customizing Scanning Options
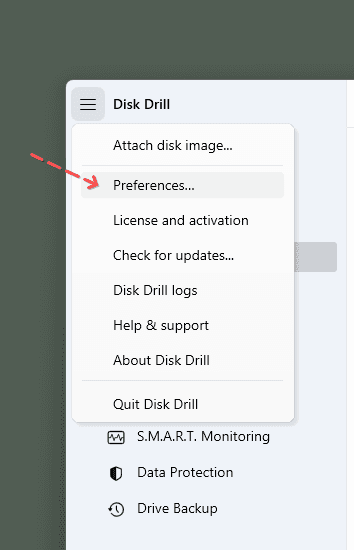
Let's head over to the program settings (Preferences... menu).
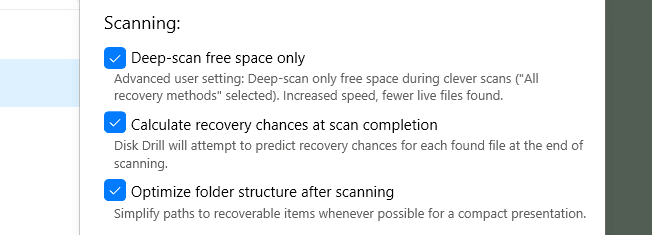
There aren't many options to adjust here—just three scanning settings.
The rest, like updates, running at Windows startup, sharing analytics, and interface settings, don't impact the core functionality.
Scanning Settings
If you're looking to save time, the "Deep-scan free space only" option can be handy. However, leaving it off might improve your chances of recovering more files.
The "Calculate recovery chances..." option provides an estimate of the likelihood of recovering specific files or folders. This information is available during the scanning process.
Organizing Recovered Data
The third option, "Optimize folder structure...", helps organize your data after recovery by showing each file's original location (if possible).
For my testing, I plan to keep all settings turned on.
Available Recovery Scenarios
Common Causes of Data Loss
Here are some common causes of data loss on external storage media, such as external HDDs, USB flash drives, or SD cards:
External HDD / SD Card Errors
File system corruption: This occurs when the file system is corrupted, causing the disk partition to no longer appear in Explorer.
Bad sectors: Over time, bad sectors can develop on a hard disk. Files located in these bad sectors become inaccessible.
Damaged files due to a virus attack: Malware can corrupt or delete data on an external hard disk, making the affected files unreadable.
Accidental deletion of files or formatting: This is the most common error, usually due to human mistakes.
Deletion of partitions: When partitions are deleted, the data becomes inaccessible without specialized recovery tools.
Limitations of Disk Drill
All of the above scenarios are basic cases where you should be able to recover your files using Disk Drill. However, Disk Drill may be ineffective in cases of physical damage, mechanical failure, or firmware corruption. Unfortunately, no recovery software can handle these issues.
How to Recover Files from an External Hard Drive
Starting the Recovery Process
To begin recovering files from a removable drive, I start the Disk Drill program and navigate to the Device / Disk section. Here, you'll see a list of all disks that are available for file recovery.
Next, I connect the removable drive to the computer via a USB port. You can also connect a card reader with a memory card to a USB hub—though this won't affect the scanning quality, it may slow down the file search process if the USB hub uses an older data transfer protocol (e.g., USB 2.0 instead of USB 3.0).
Scanning for Lost Data
Then, I simply select the drive from which the information was deleted and click the "Search for Lost Data" button.
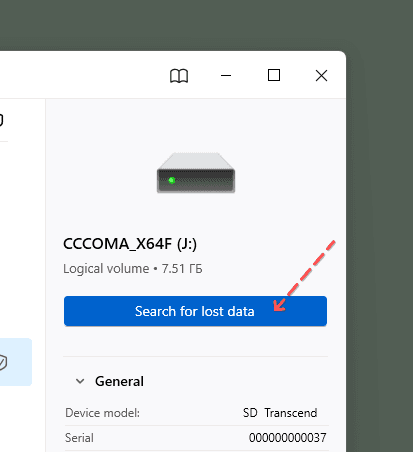
The search for deleted data will take some time—anywhere from a minute to several minutes, depending on the capacity of the external storage device.
During the scanning process, you'll see a list of file types and the number of found items for each type.
These include pictures, videos, audio files, documents, archives, and other file types not listed.
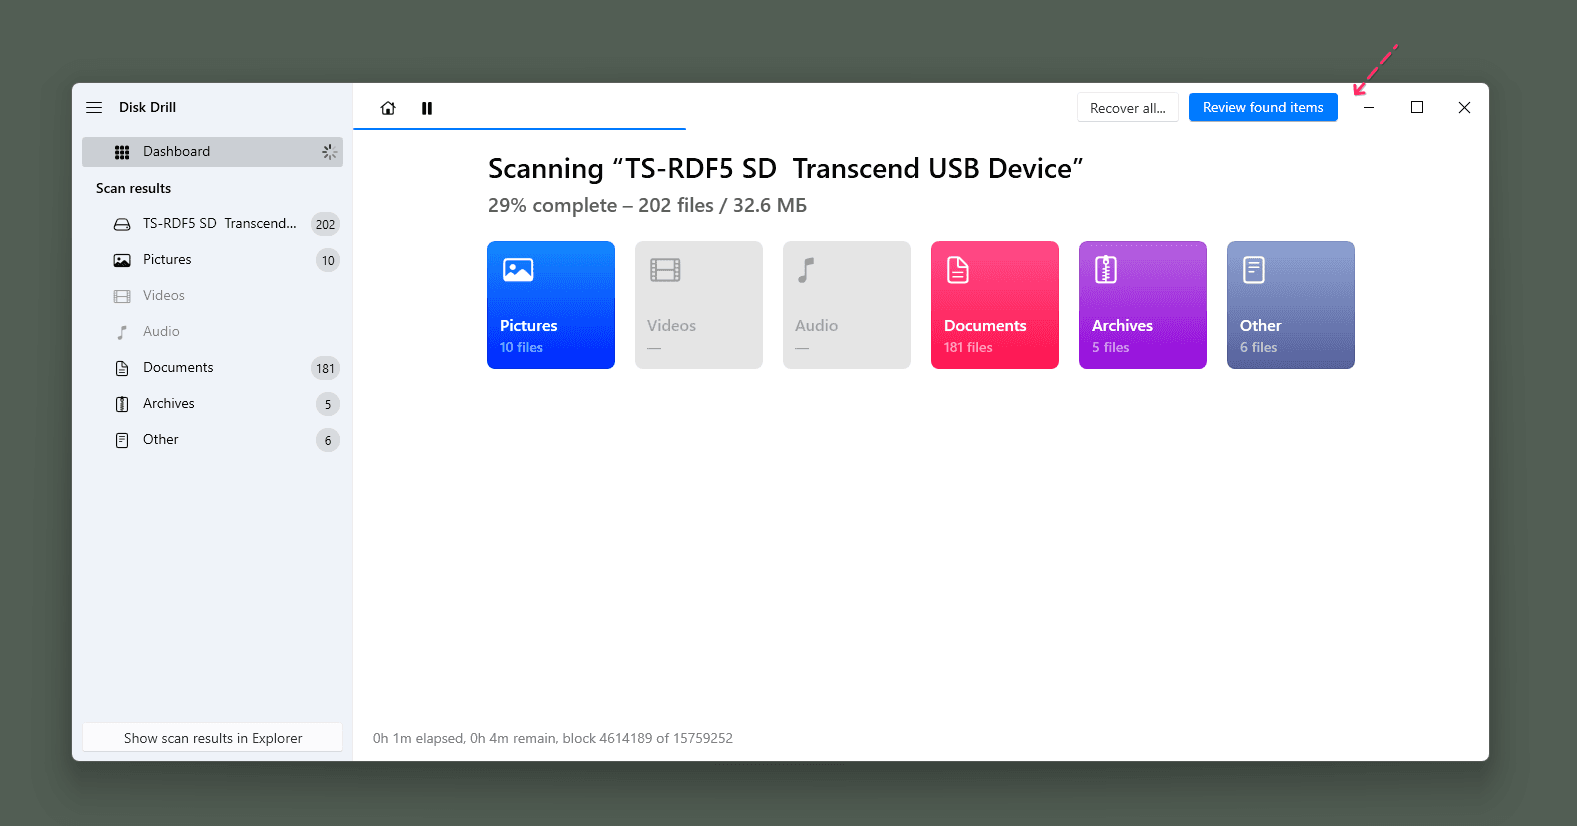
The screen also displays the scanning progress, the number of found files, and the amount of data available for recovery.
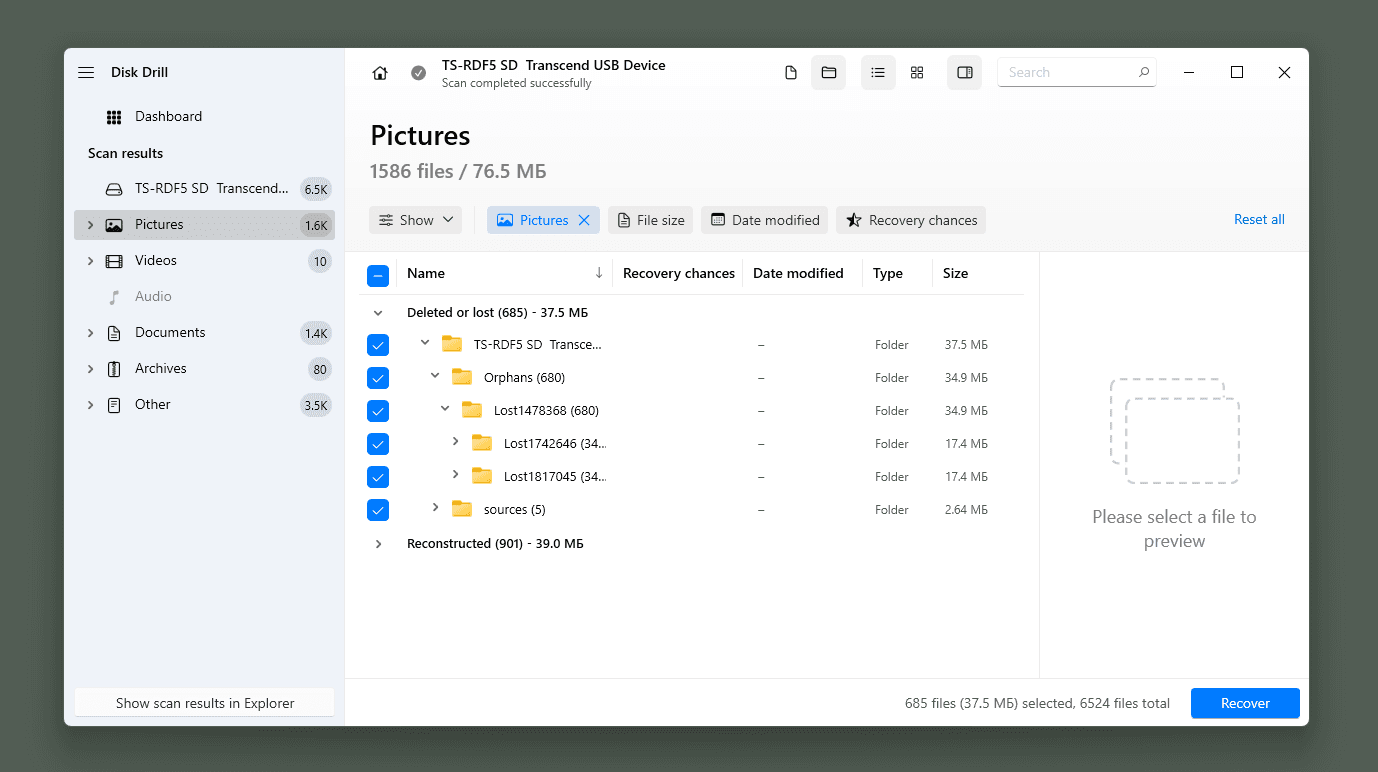
Recovering and Saving Files
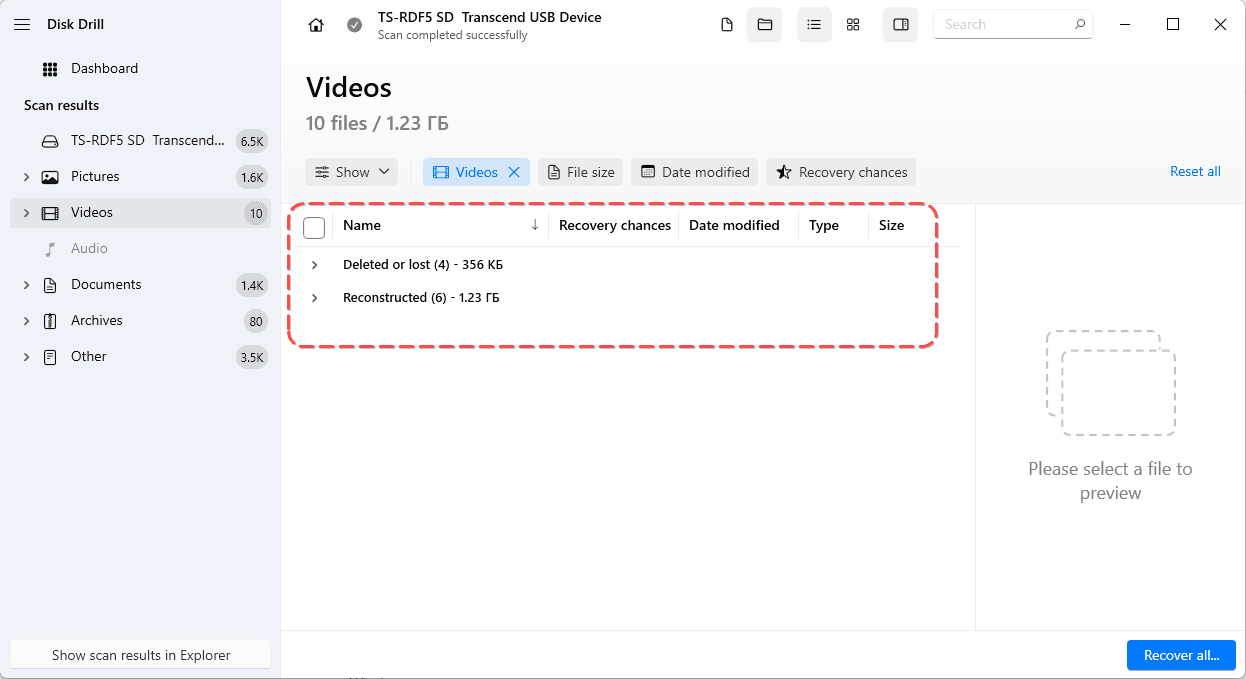
If you want to view preliminary search results, simply click the preview button at the top of the program window. Once the scan is complete, I select the type of files I'm looking for. The file tree will display a list of deleted or lost files.
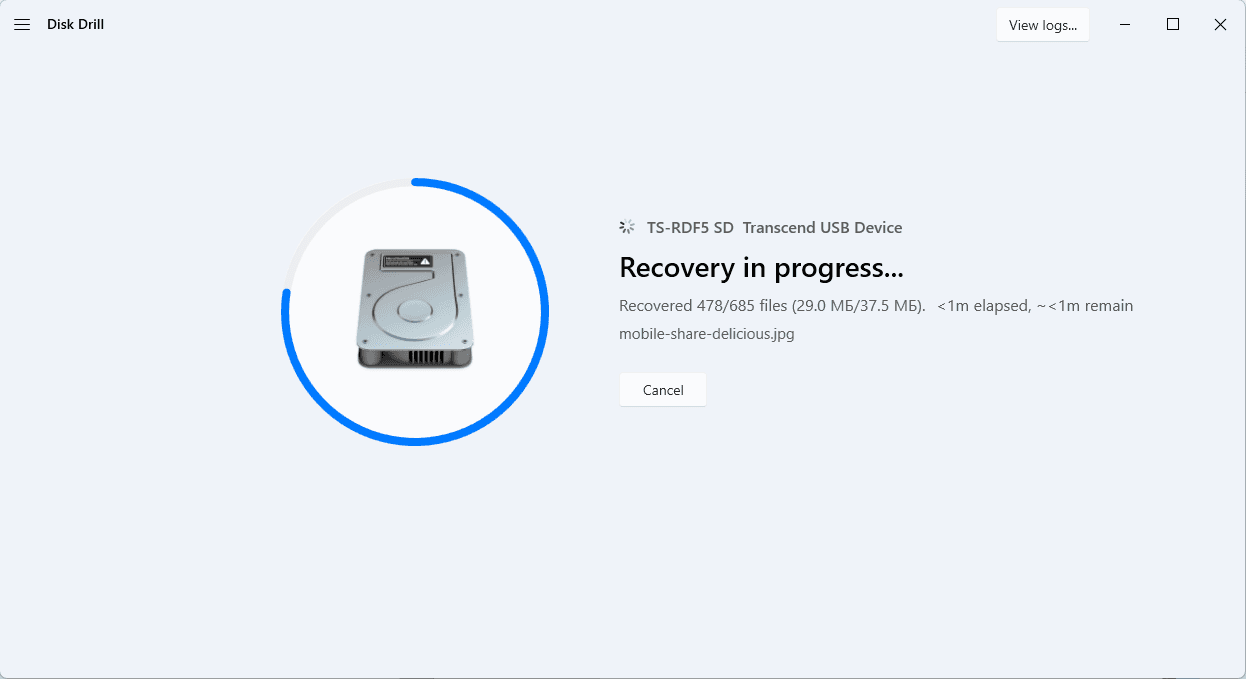
I then check the boxes next to the files I want to recover and click on "Recover."
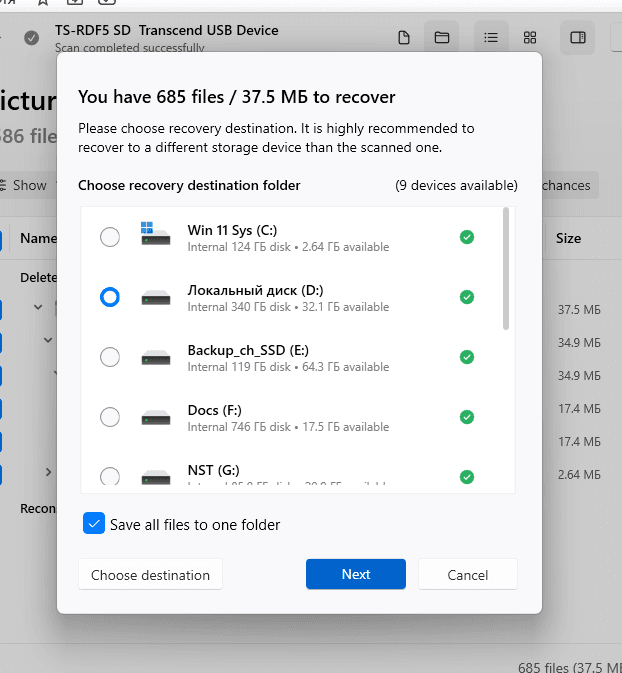
In the final step, I save the search results.
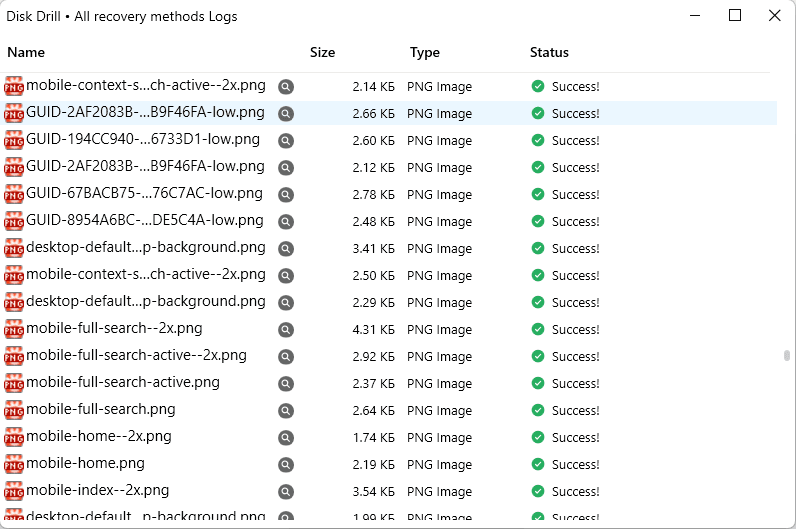
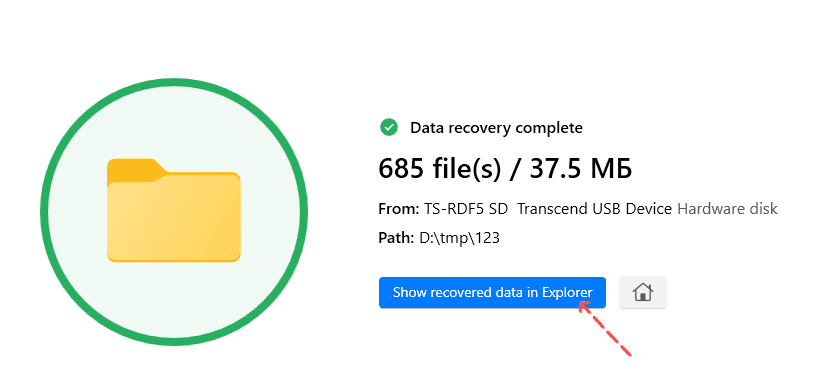
You can view the recovered files by clicking on "Show recovered files in Explorer."
Conclusions
What I Liked
In summary, here's what I liked about using Disk Drill:
- The recovery process is intuitive, with no confusing settings to navigate.
- Search results are organized by file type, so you don’t have to sift through large amounts of data to find what you need.
What I Didn’t Like
However, there were a few things I didn’t like:
- Lack of advanced search options.
- No Deep Scan feature or other customizable search settings.
- The free version is limited to 500 MB of recoverable storage.
Result: 0, total votes: 0

I'm Vladimir, your guide in the expansive world of technology journalism, with a special focus on GPS technologies and mapping. My journey in this field extends over twenty fruitful years, fueled by a profound passion for technology and an insatiable curiosity to explore its frontiers.