- Published on
- Updated on
How to Format a Hard Disk Drive (HDD) and SSD: Best Free Format Tools
- Authors
A selection of the best programs for different types of formatting a hard disk drive (HDD, SSD, RAID), and removable media storage devices (USB flash drives, SD cards).
Table of Contents
Standard Windows Formatting Tools
The Windows 10 and 11 operating systems have a built-in tool to manage and format hard drives. To format a drive in Windows 11, follow these steps:
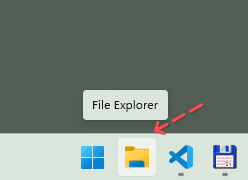
- Open File Explorer (or any other file manager).
- Select the disk you'd like to format.
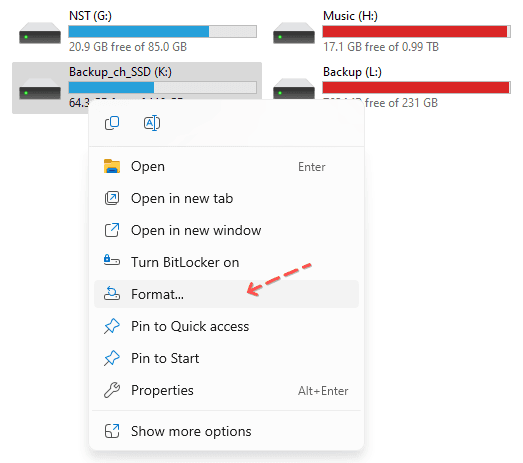
Click on the Format... option to start the process.
Select Format from the context menu.
Alternative method:
- Go to This PC.
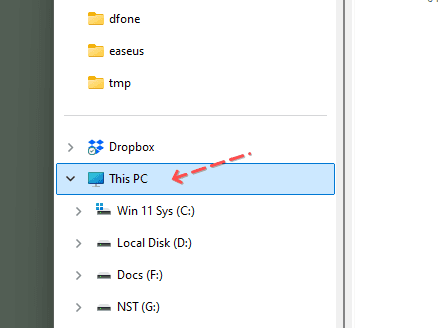
Right-click on the desired drive in the "Devices and drives" section.
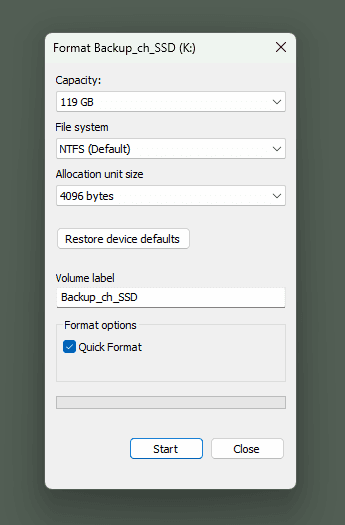
Press Start... to begin formatting.
This is the simplest way to format a storage device on a PC without using any additional tools.
Despite the simplicity of this method, all steps should be performed carefully, ensuring you understand why you're formatting the drive. Before proceeding, double-check that you've selected the correct disk.
An Alternative Way to Format in Windows OS 7 / 8 / 10
- Different systems have varied paths to Disk Management, so the easiest way is to type "management" into the Windows search bar.
- In the search results, find "Computer Management" and click the icon.
- From the left menu, navigate to "Disk Management."
- Right-click on the desired partition and select "Format…". Since this process runs while the OS is active, the "Format" command will be unavailable for the system partition.
- Next, select the new partition label, file system type, and cluster size (if you're unsure, select "Default").
- Leave the "Perform a quick format" box checked for quick formatting. If you want to perform a full, deep format, uncheck this box.
- After pressing "OK," the system will ask for confirmation. Press "OK" again to proceed.
Formatting a Hard Disk Drive via Windows Command Prompt
To start the formatting process, open the command prompt on your computer. Press Win + R on your keyboard, and in the "Run" window, type “CMD”.
Note: Formatting requires administrator rights. To run the command prompt with these rights, right-click on it and select “Run as administrator” from the context menu. Without admin rights, access to format the disk will be denied.
To format a drive using the command prompt, use the following command:
format [drive letter]Press Enter.
Follow the on-screen instructions and prompts, being careful to select the correct drive.
Full Hard Drive Formatting via HDD Low Level Format Tool
Low-level formatting optimizes the structure of an HDD, which is useful when preparing for the reinstallation of an operating system. It can also help address issues with bad sectors on the hard disk.
HDD Low Level Format Tool is a suitable tool for this purpose. In addition to low-level formatting, it can read SMART indicators, check for read errors, display the operating time of the disk, and more.
How to format a hard drive completely:
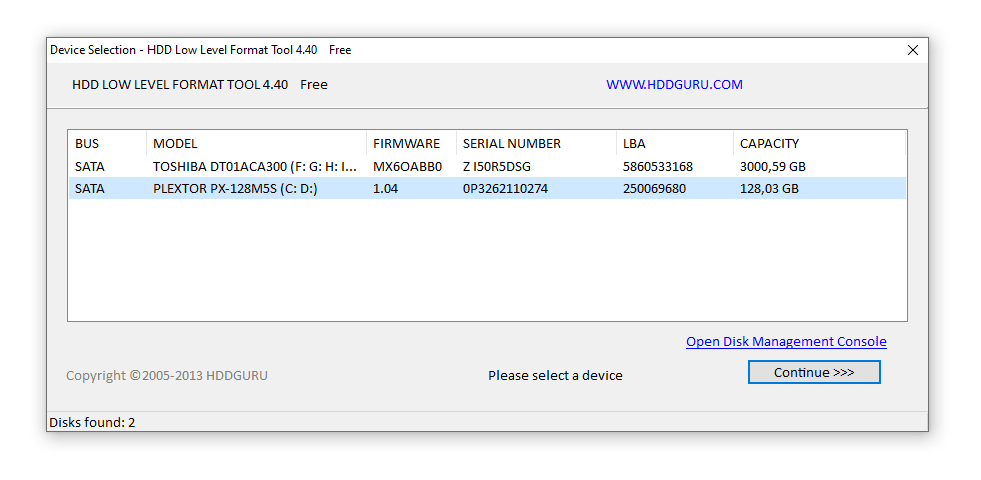
After installing HDD Low Level Format Tool, run the program.
In the "Device Selection" window, choose the hard drive you need to format (if more than one HDD is connected). You can identify the correct drive by its size. Click "Continue >>>."
Go to the "LOW-LEVEL FORMAT" tab.
For quick formatting (which deletes partitions or MBR records), select the "Perform quick wipe" option.
If you want to perform a full format, disable the "Perform quick wipe" option.
Double-check that you have selected the correct drive. Once confirmed, click "Format this device" to begin the process.
AOMEI Partition Assistant
AOMEI Partition Assistant is a versatile tool that offers various useful features, including low-level formatting for both internal and external hard drives. The latest version, 8.1.0, can be downloaded via the link below:
Download AOMEI Partition Assistant
The program's interface is quite similar to standard Windows utilities, making it user-friendly and easy to navigate:
Upon launching AOMEI Partition Assistant, the main window automatically displays the disk with the installed operating system. If you need to format a different device, select it from the right panel (e.g., Disk 1, Disk 2).
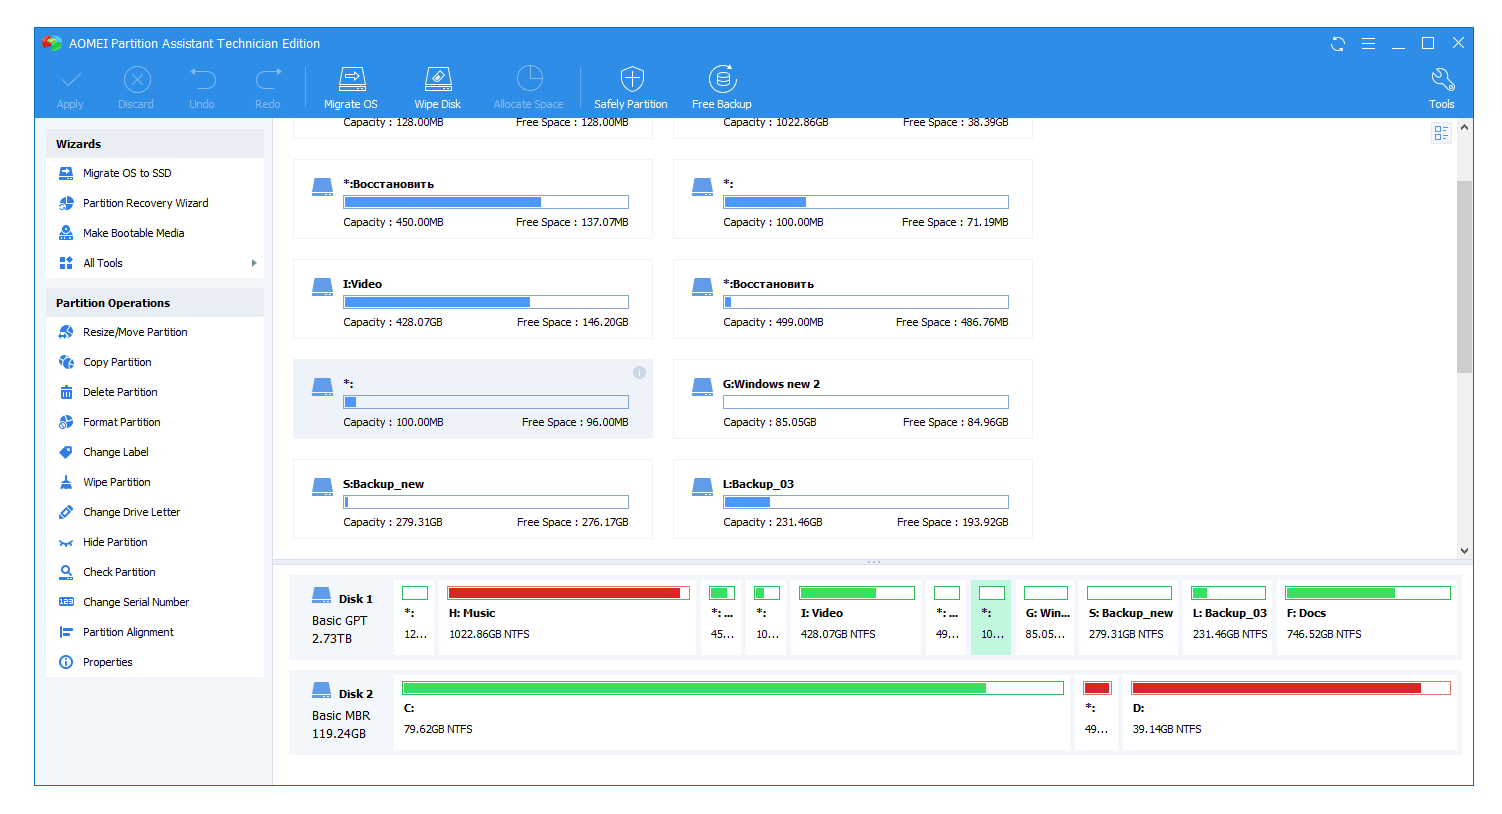
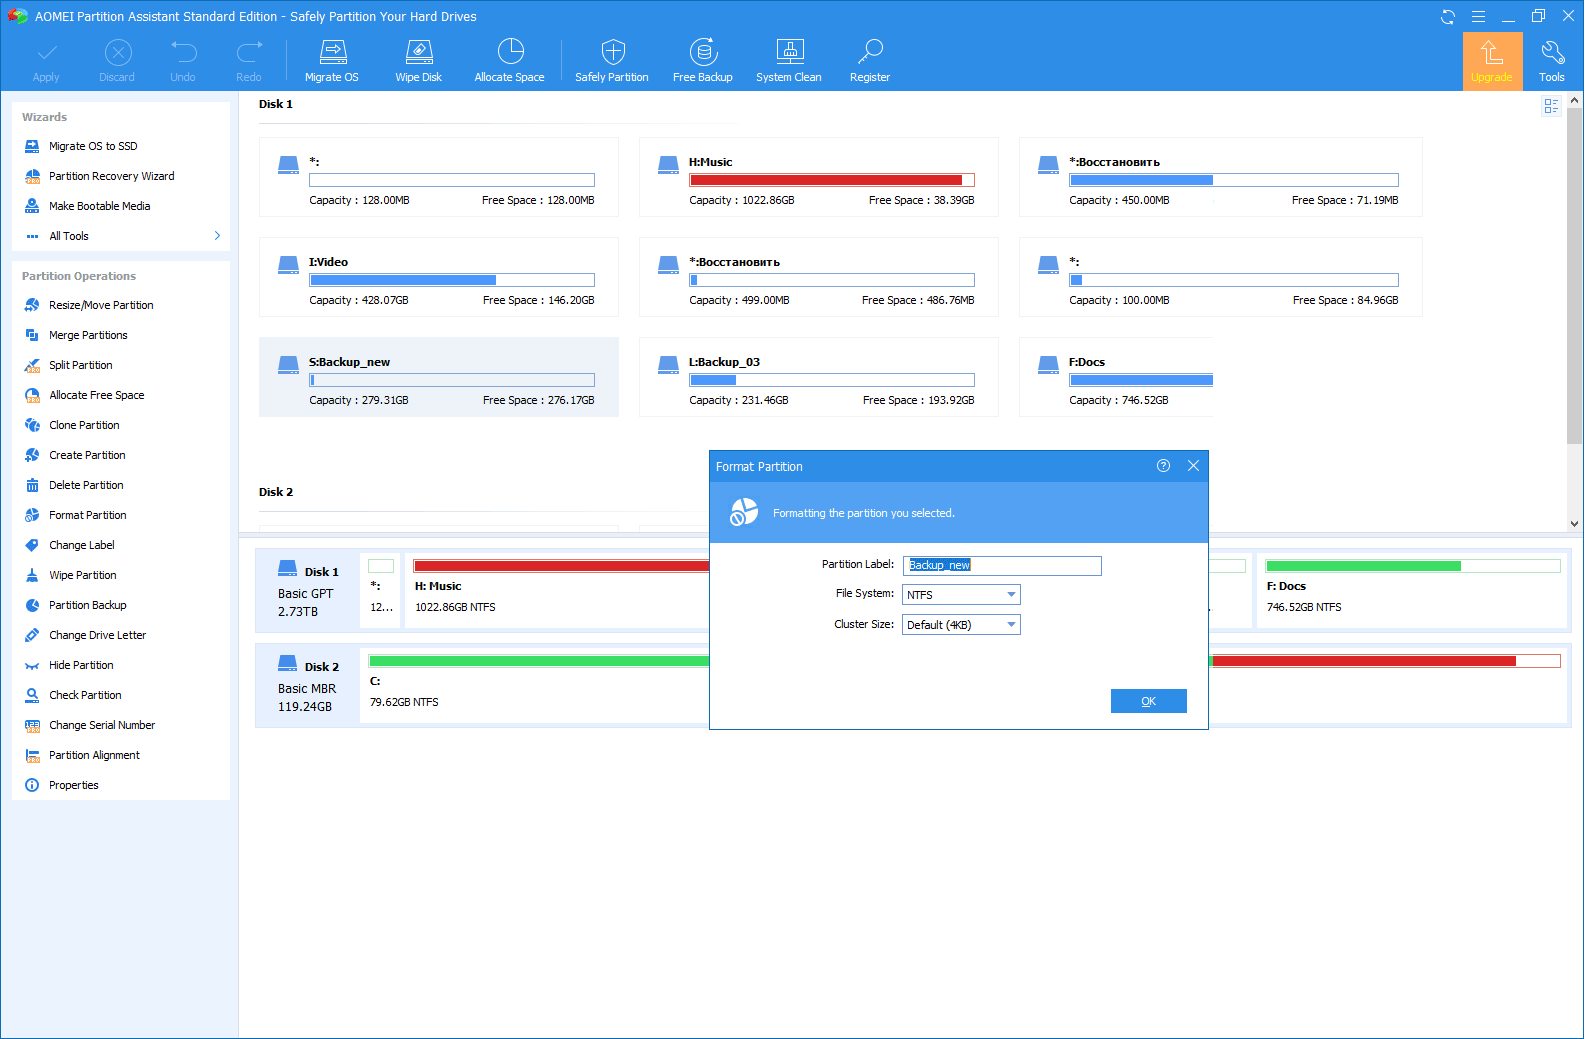
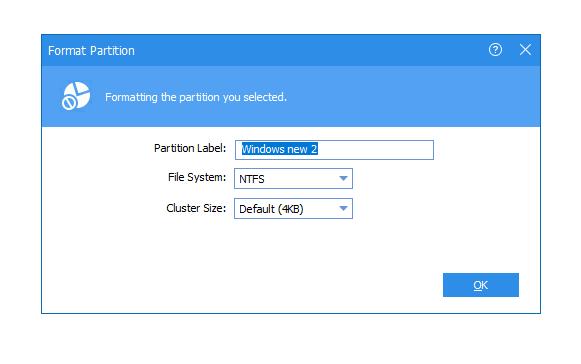
In the left menu under "Partition Operations," select "Format Partition."
Specify the Partition label, File System, and Cluster size (we've previously explained these options). Confirm your settings by pressing OK.
You will need to restart your system to initiate the formatting process. Once you confirm the operation, there will be no way to undo it, so double-check that you have selected the correct drive and settings.
After your computer reboots, AOMEI Partition Assistant will execute the formatting process, resulting in a blank hard drive or partition based on your selection.
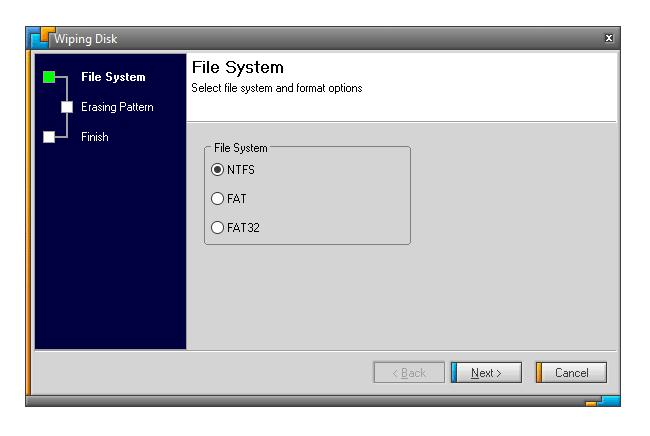
DiskWipe
DiskWipe is a free utility designed for securely erasing data from hard drives (HDD) with no possibility of future recovery. This program uses several proven algorithms (e.g., DoD 5220-22.M, US Army, and Peter Guttman) and offers advanced settings to choose the depth of formatting.
To format a device with DiskWipe, follow these steps:
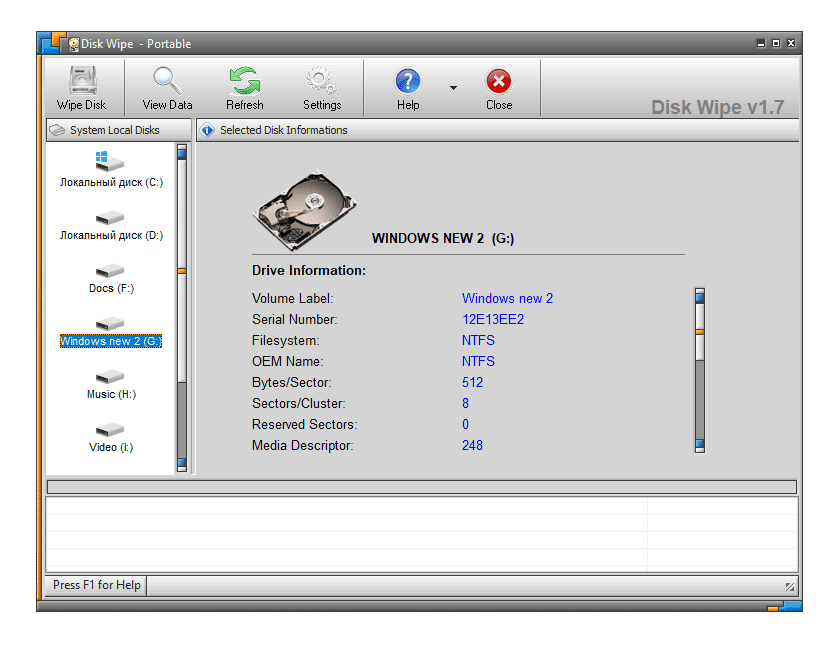
Run the DiskWipe utility. In the left panel, you'll see all available devices for formatting.
Select the device you wish to format and click on "Wipe Disk" in the top menu.
The advanced settings window will open. For full and irreversible formatting, mark all available fields and select "Highest" for the wipe depth.
After configuring the settings, click "OK" to start the formatting process.
Paragon Hard Disk Manager
Paragon Hard Disk Manager offers several options for managing HDD partitions, including splitting, recovering, and more. The program is shareware, which means you can use it for free during a 30-day trial period to format devices in different modes.
Download Partition Manager Free
The formatting process is straightforward:
Launch Hard Disk Manager.
In the sidebar, go to the "Disks and Partitions" section.
From the list of available devices, select the one you want to format, then press "Format Partition".
Specify the file system type and volume label, then click "OK".
The task will be added to the queue. To apply the changes, click the check mark in the top menu.
Once the operation is confirmed (by pressing "OK"), the formatting will begin and cannot be undone.
Paragon Hard Disk Manager not only formats the device but also creates a new partition with the specified file system. After the system reboots, the disk will be ready for use without any further actions.
Result: 0, total votes: 0

I'm Vladimir, your guide in the expansive world of technology journalism, with a special focus on GPS technologies and mapping. My journey in this field extends over twenty fruitful years, fueled by a profound passion for technology and an insatiable curiosity to explore its frontiers.